Manifesting Murals | PART 3: You're Gonna Need Help

This week marks the one year anniversary of painting my first murals. Two murals in 10 days, in fact. Prior to painting these murals in Austin, I had zero mural experience & no reason to believe I could pull it off.  Following is the 6-part story of how I did it. [Read from the beginning.]


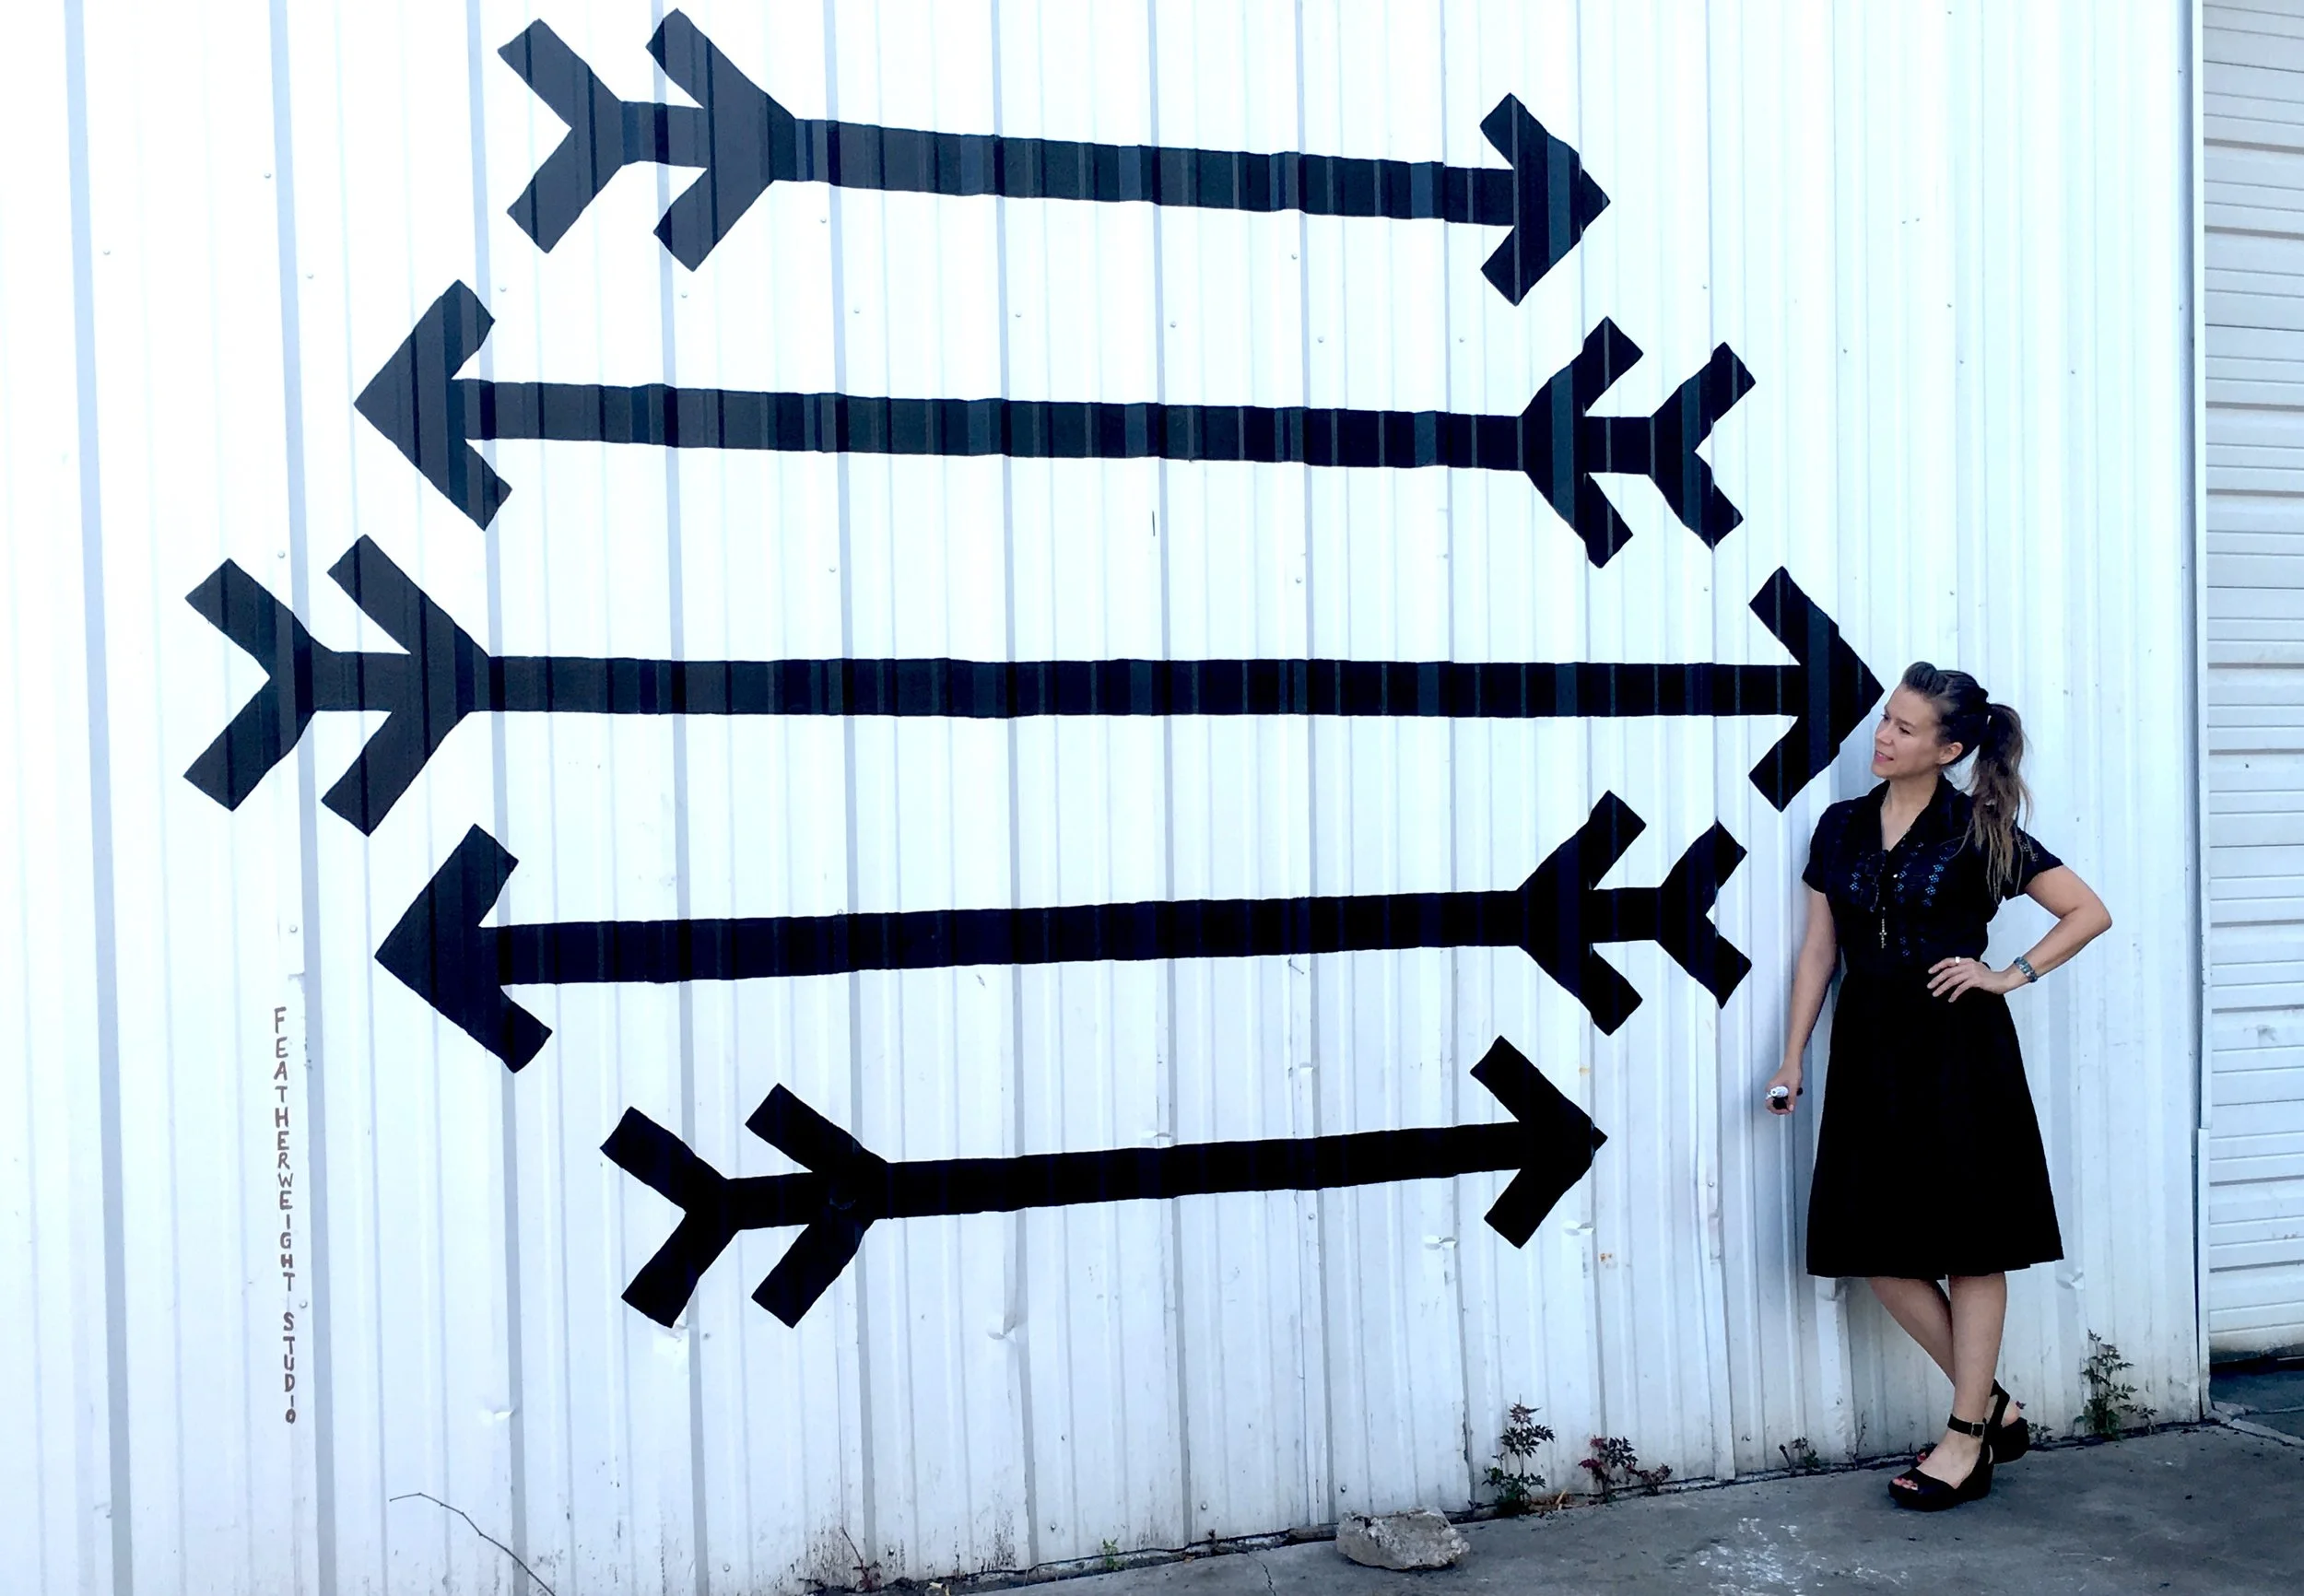
The next day, Sunday July 10th, Dana and I met Fabian at the auto garage to see the wall.  The wall was white so I knew I wanted to paint black arrows on it.  It was not unlike the very first mockup I had made.
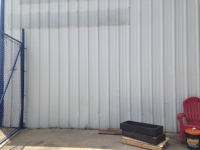
Blank canvas

Blank canvas

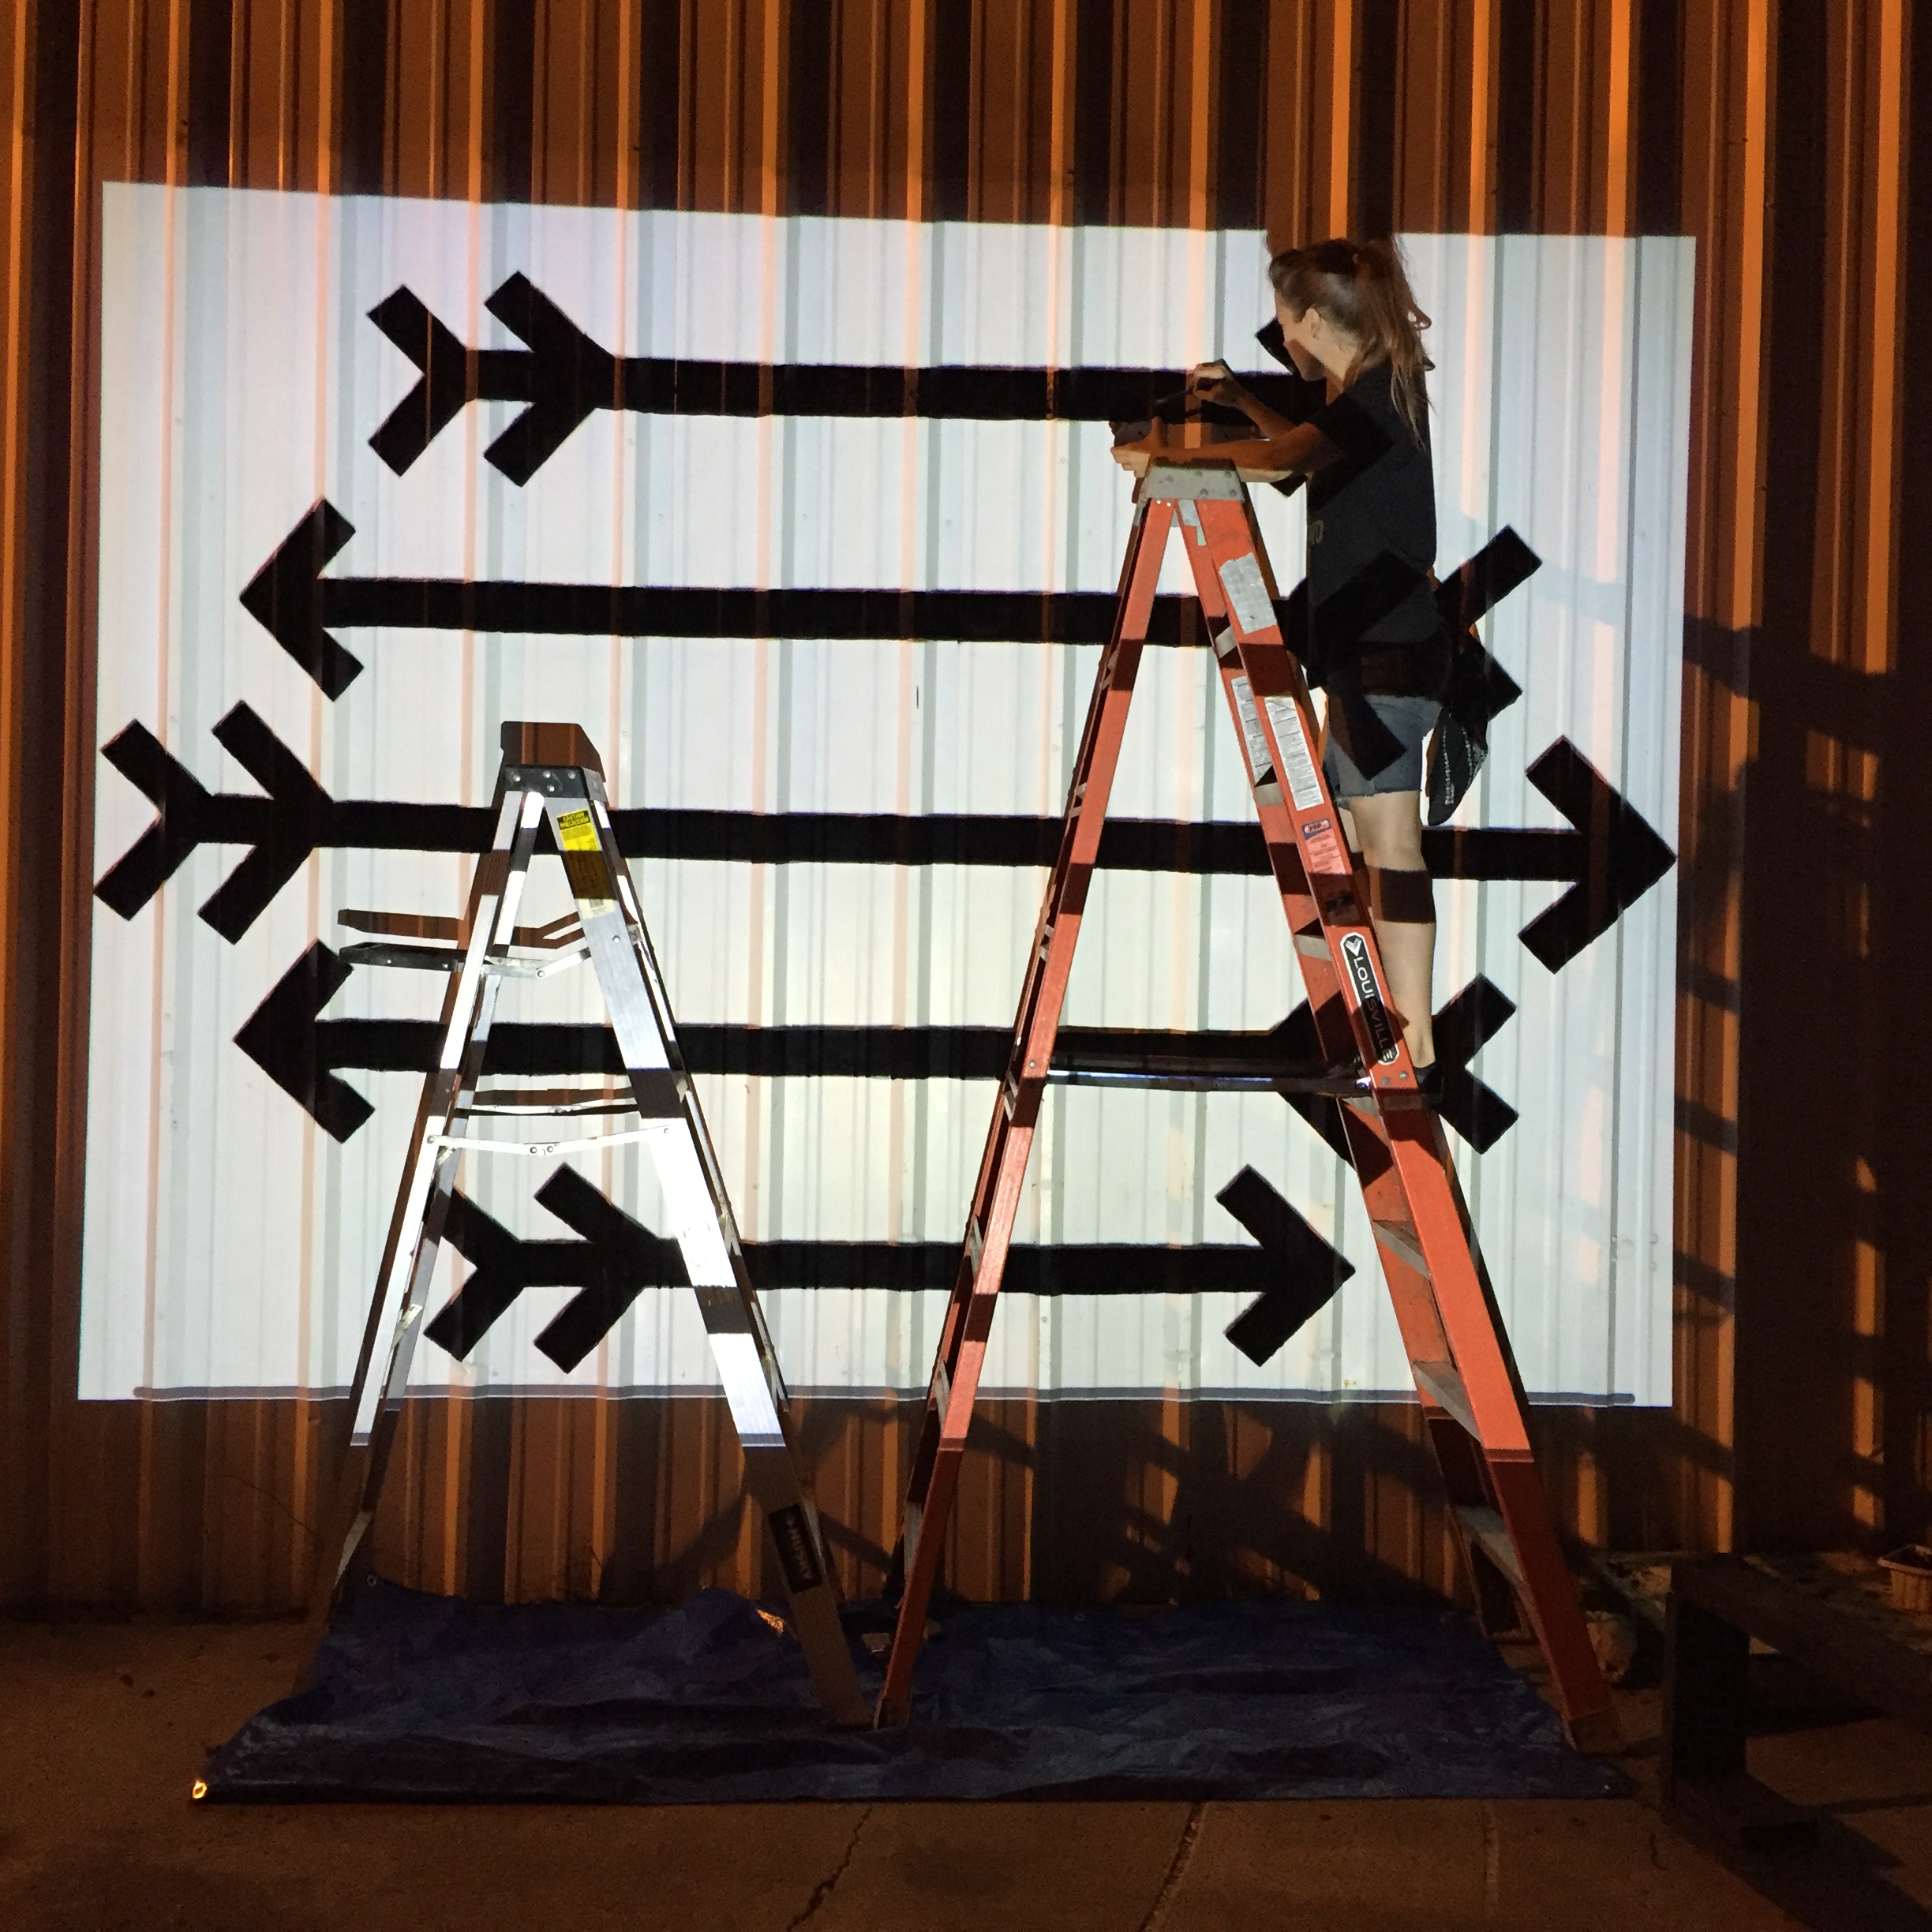
I considered placement and proportion. It was a tall, wide expanse of blank wall so it needed to be pretty big in order to look good.  Fabian had ladders at the shop so that wasn't a problem. We decided the best bet would be to project the design on to the wall and "trace" over it. My friend Jeff said he had a projector at his house, it just needed an adapter to hook up to my computer. We all made a plan to meet the next night at sundown.

Dana and I headed to Home Depot for supplies. I bought one can of black paint and since I was so strapped for spending money, I bought maybe two or three of the cheapest brushes. Dana convinced me to buy a small plastic paint holder with a handle. I had to drive to Radio Shack to hunt down an adapter for the projector so I could plug it into my laptop. Each time I made a purchase, I had to ignore the doubtful voice that said You're wasting your time. You're wasting your money. Twenty-five dollars for an adaptor you'll use once??

The evening of Monday, July 11th, I gathered some pencils for tracing, grabbed some cold Topo Chicos and put on some clothes I didn't mind getting paint on. I picked up Jeff and his projector and drove to Fabian's garage. Dana met us there. We put my laptop on a ladder, rigged up extension cords out to it and the projector and adjusted it til the arrows were just right.  Jeff had to help me with a setting that stopped my laptop from going to "sleep" every 5 minutes. We used the pencils to do a light trace around the entire design, just in case we didn't get finished that night.  Then it was time to lay down the paint.

I had to ignore the fear that I was about to ruin Fabian's building.

One thing I hadn't thought about was the fact that the wall was corrugated metal. That means it's wavy, and varies in depth. We were painting straight arrows on a wavy wall. If I'd really thought about this beforehand, I wouldn't have gone through with it. But I literally didn't think about it until I started laying the paint on. I had a flash of panic, envisioning wavy, unintelligible arrows that looked like wiggly mush from far away. But again, here we all were and I had committed to not doubting.  I reminded myself an important lesson I'd learned when I used to do clothing alterations for people: trust what the materials are telling you, even if it doesn't make sense to your logical mind. As long as we painted what the projector was showing us, it should look right.

I took a deep breath and smeared some black paint on the white wall.  

We were going to make this work.  We had to.

I told Dana that I would do all of the tracing and outlining, and asked her to fill in my outlines with black paint.  We stepped up and down the ladders, dragged them as we made progress, reached around each other and checked each other's progress.  Fabian stayed with us and helped with moving the two A-frame ladders and reassuring us that it in fact looked right from far away. I'm no fan of ladders but once I started painting, the concentration took over and I didn't really think about how high up I was. 

To my surprise, Jeff also stayed with us and Dana's friend Candice stopped by for a little while.  I hadn't met her before, but she arrived with a smile and even helped out with painting inside my lines. I stepped back and took a breath, and couldn't believe that here I was, PAINTING A MURAL. And four other people chose to hang around and help. They were all participating in this mad idea that had popped in to my head. It was real. It was happening. 

Around midnight, we were finished. We turned off the projector and looked at it from five feet away, ten feet away, a little ways down the street. Straight arrows on a wavy wall. It looked right. I painted a little signature, then we folded ladders, wrapped extension cords, closed paint cans and everyone went home.

That night I lay in the bed where I was housesitting.  My body was exhausted from climbing up and down ladders, reaching, stretching and concentrating for five hours straight. But I was high. Totally high on having made something out of nothing, totally high because my experiment worked.


Manifesting Murals | PART 2: You're Gonna Need A Wall

This week marks the one year anniversary of painting my first murals. Two murals in 10 days, in fact. Prior to painting these murals in Austin, I had zero mural experience & no reason to believe I could pull it off.  Following is the 6-part story of how I did it. [Read from the beginning.]


To convince myself to pursue the mural goal while allowing zero doubts to enter the process, I told myself it was "an experiment". Logically I didn't really believe that I'd be able to do it, but as an experiment I decided to proceed with an open mind that it could happen. This is art after all, why not keep my mind open to the most outlandish ideas? 

Pretty quickly I realized I could paint my arrows motif on a wall and that it could look pretty cool. I’d been painting my arrows on jackets, suits, guitar straps and leather pouches. Right before I left for Austin I’d painted my arrows on a canvas backdrop I’d made as a stage banner. That was the largest scale painting I had done before, and I loved the way it looked. I decided my arrows would be the subject matter of the mural.

The next step was to imagine what kind of place might want my arrows on their wall.  I thought about a coffee shop I'd been to, and I googled a photo of it and did a crude mockup of the arrows on the interior and exterior walls.  I emailed the photo to the general email of the coffee shop, asking if they'd be interested. More importantly, mocking up the visual helped me "see" the idea of the mural as more real.  The people from the coffee shop never responded.

My digital mockup on the coffee shop wall

My digital mockup on the coffee shop wall

I started asking friends if they knew any muralists. Some close friends of mine told me they had a friend who had painted several murals. My friend gave the muralist a call, explained my situation and asked if he’d talk to me.  The muralist didn’t want to talk to me.

Another friend told me about a place called SPRATX that sold mural supplies.  I called them and told them I was an artist visiting from Oakland and did they know of any opportunities or available walls?  Nope, they said, competition is very stiff.  There aren't that many walls available. It's really hard these days and getting harder.  I thanked them and moved on.

All these dead ends were plenty of fodder to feed my doubt, but I’d made a commitment not to do that.  So I kept going.

While I was waiting to find a wall, I still needed to figure out how I’d proceed if I found one. My friend Dana Lenko ended up being a key part of the process. Turns out she used to work at a paint shop and she went with me to two shops while we were researching. She also embraced the idea and didn't put any doubt on it. This was crucial; one dreamkiller can kill an idea before it even starts. Dana spent time talking through the idea with me and generally adding momentum and belief.  

The night I found a wall (with Jeff, Fabian, Cathy, Amy)

The night I found a wall (with Jeff, Fabian, Cathy, Amy)

On Saturday, July 9th, I met some friends out at a club to see Folk Uke perform. My friends Jeff and Fabian asked what I'd been up to, and I told them I was looking for a place to paint my arrows as a mural. Saying it out loud to other people was part of the "having no doubts" aspect, because I usually don't share ideas before I've accomplished them.  

To my utter shock, Fabian said, "I just took over an auto garage on the east side. You can paint your arrows on the side of my building."

I couldn't believe my ears. I think I must have said "Really? Just like that? You'll let me paint the side of your building??" Yep. I heard him right. I was beside myself. I texted Dana and told her we were on.


ReMake: Chambray Summer Dress

After moving from California back to my home state of Texas, I've had summer dresses on my mind.  I'm trying to build my business (and pay off my business credit cards) so my shopping budget is basically zero right now.  But it's hot here, and I need some comfortable, cute clothing for hot weather.

Here's what I'm looking for in a summer dress:

  • comfortable
  • versatile
  • sustainable
  • made from natural fibers
  • unique
  • affordable

I haven't found much at the thrift shops.  There is so much polyester in modern fashion, because it's cheap to make/manufacture with, but it doesn't BREATHE.  I don't understand how people can wear so much polyester, let alone in 90+ degree weather.  It just makes your sweat stinky. I like to wear my own homemade natural deoderant, and natural fibers (cotton, linen, etc.) allow you to sweat a little without causing stinkiness.

Last week I found this light cotton chambray tunic at the thrift shop for $3.99, and despite it being a size XL, I knew I could turn it into something cute. 

I like to work quickly without a pattern. I don't actually have any pattern-making education, I just make it up as I go along. To do this:

  • have a pretty clear picture of the finished product in your head (or on paper)
  • baste first until you get your lines/sizing right, then stitch
  • be prepared to try on the garment multiple times
  • a dress form is helpful for pinning & planning, or you can do it on your own body

The process is a repetition of plan, mark, pin, baste, try on, adjust, stitch.  (I put on a full slip so that I could take the dress on and off without having to change clothes.)

I started by taking in the sides.  You can put the dress on inside out, pin it, then take it off and measure it equally before basting.

Every dress should have pockets, so I improvised quick pockets.  I didn't have enough leftover fabric to make full pockets, so I used some cotton tamale bags we were going to donate.  A quick way to make pockets is to trace around your hand. I didn't want the tamale fabric to show, so I sewed about an inch of the chambray onto the edge of the pocket. I've made enough pockets by following patterns that I understand how they're made, but I'm always a little confused as to which side matches with which seam -- so I follow the cardinal rule of PIN & BASTE FIRST!

Planning the sleeves was a bit trickier. I knew I wanted something basically sleeveless because that's good for hot weather, but I always like a little teeny bit of sleeve. I clipped off the original cuff and flipped it over to reuse it. I planned the design by putting on the dress and pinning one side/sleeve until I liked it, basting and adjusting until it looked right. This took a few tries, but once I got one side right, I just copied that same plan on the other side. The way I copy is to fold the garment in half, then use a fabric marker to mark the lines on the other side.  It's not the most precise method but it works!

To make the dress truly unique, I finished it off with some bleach (a small bottle cost $1.99).  

This dress will go with boots or sandals, heels or flats, & can be dressed up or dressed down. This dress also checks off all my requirements: comfortable, versatile, sustainable, made of natural fibers, unique, and very affordable at a grand total cost of $5.98.  

Talk to me: What do you think? Would you wear a dress like this?  Sewists, do you ever sew without a pattern?